Door Access Control
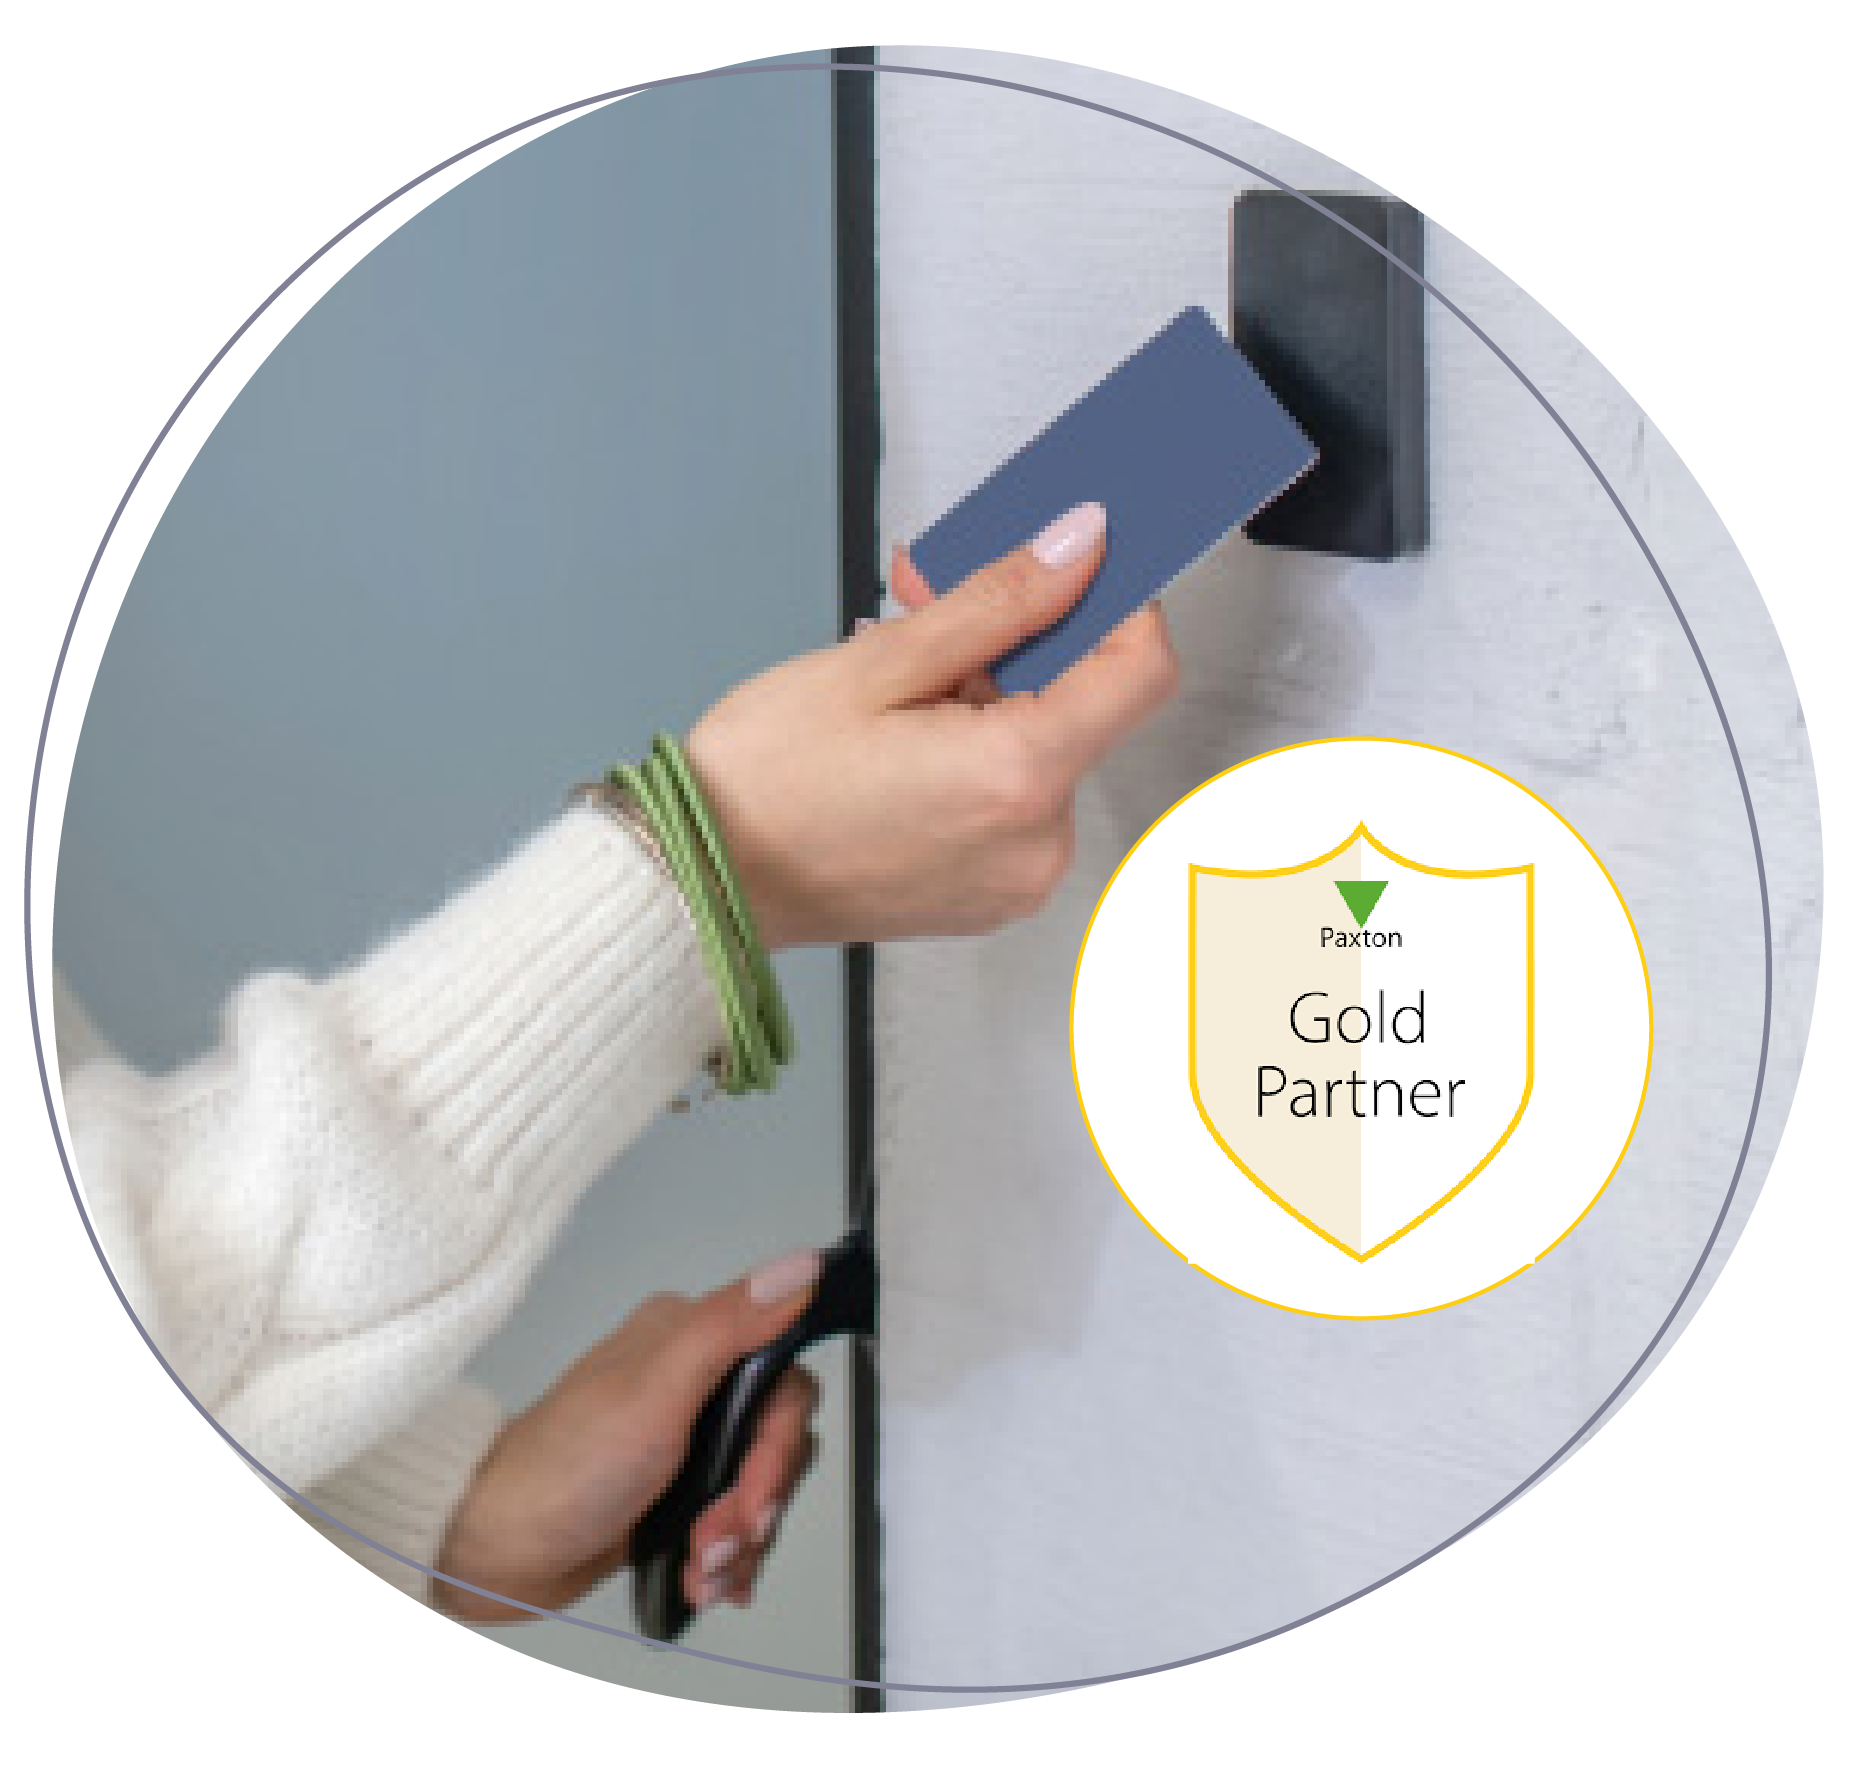


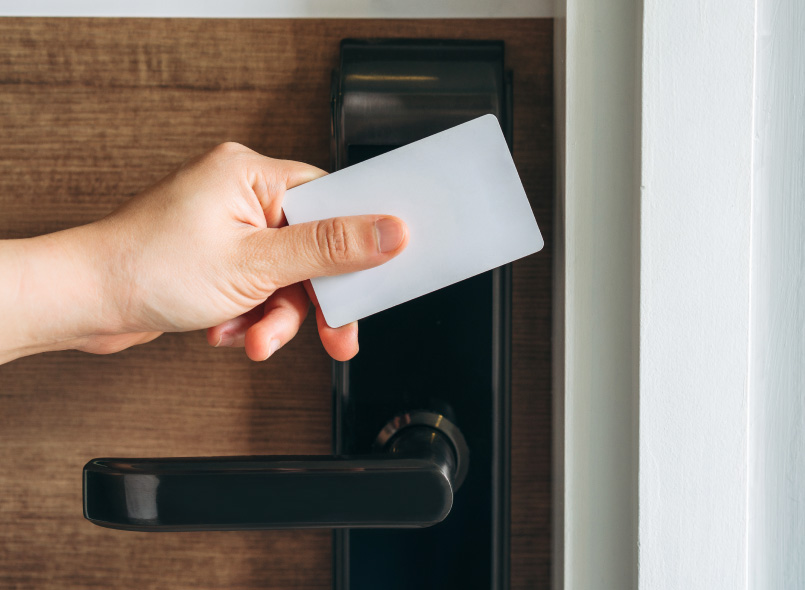
RFID Card Readers
Tap a card or fob to enter - simple, fast, and secure.

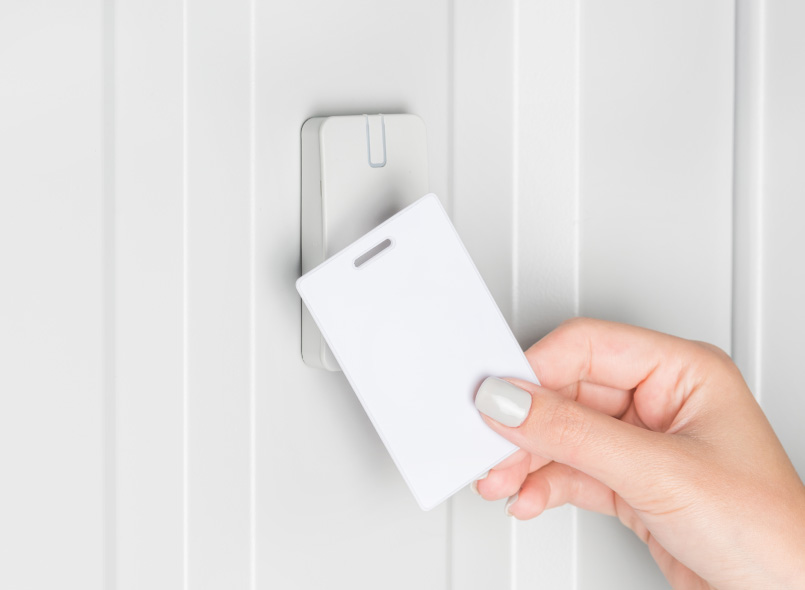
Key Fob Entry
Small, pocket-friendly fobs that unlock doors with a wave.
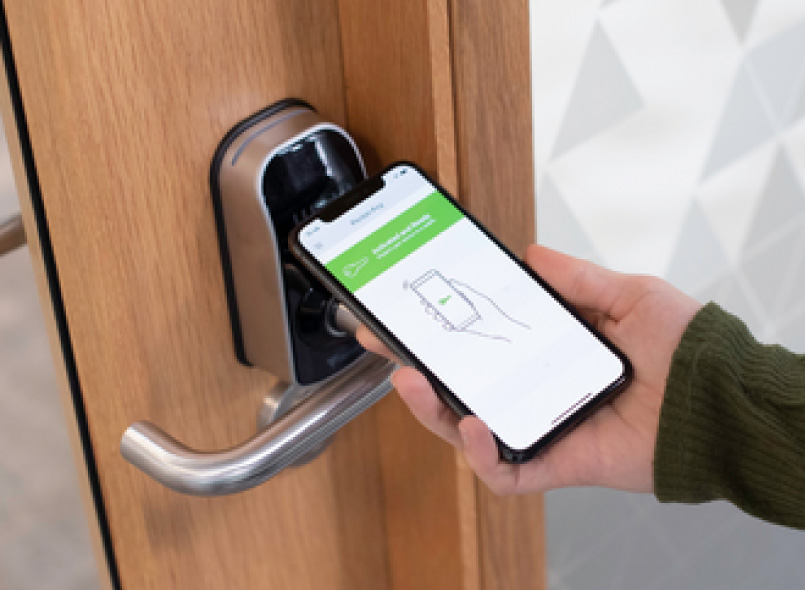
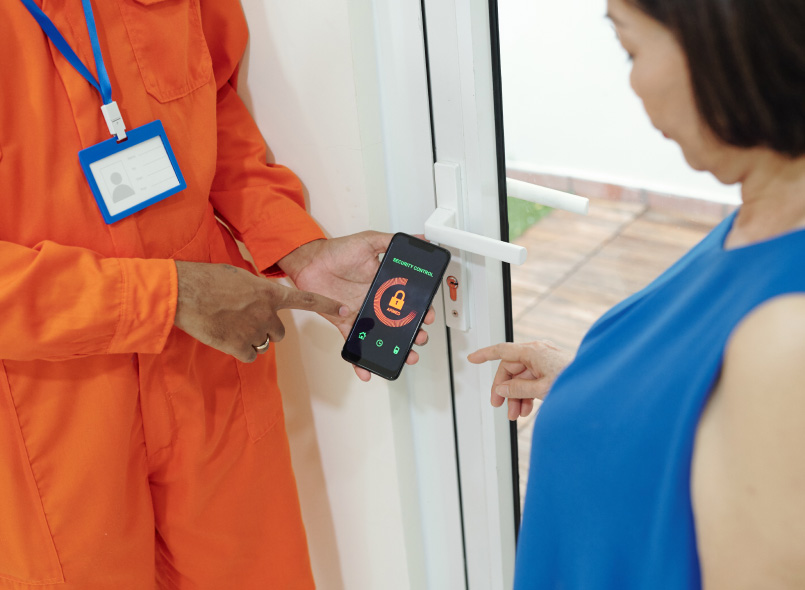
Mobile Access
Use your smartphone or smartwatch as your key for workplaces.
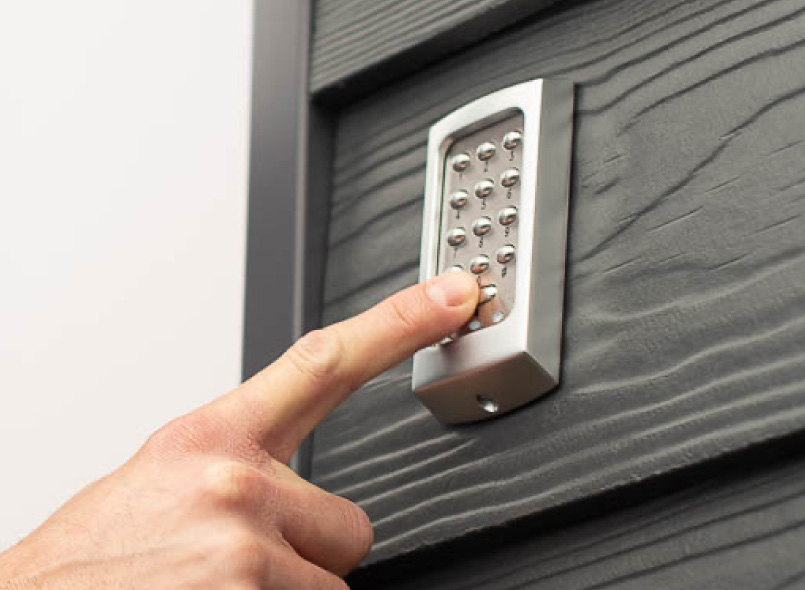
PIN Keypads
Grant access using unique codes - great for low-traffic or temporary access zones.
RFID Card Readers
Tap a card or fob to enter - simple, fast, and secure.
Key Fob Entry
Small, pocket-friendly fobs that unlock doors with a wave.
Mobile Access
Use your smartphone or smartwatch as your key for workplaces.
PIN Keypads
Grant access using unique codes - great for low-traffic or temporary access zones.


Schools
Tap a card or fob to enter - secure, fast, and perfect for classrooms, offices, and staff-only zones.

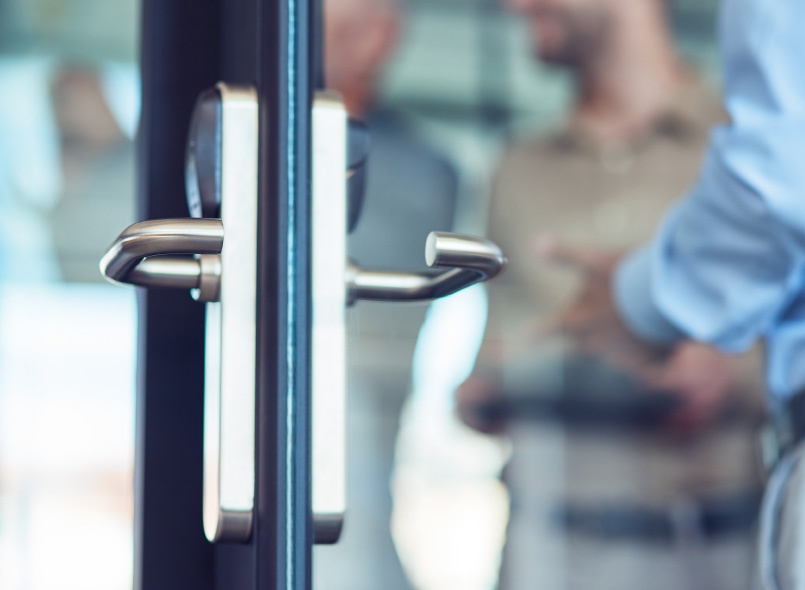
Office Buildings
Control who goes where with smart fobs or cards. Manage staff and visitor access with ease.
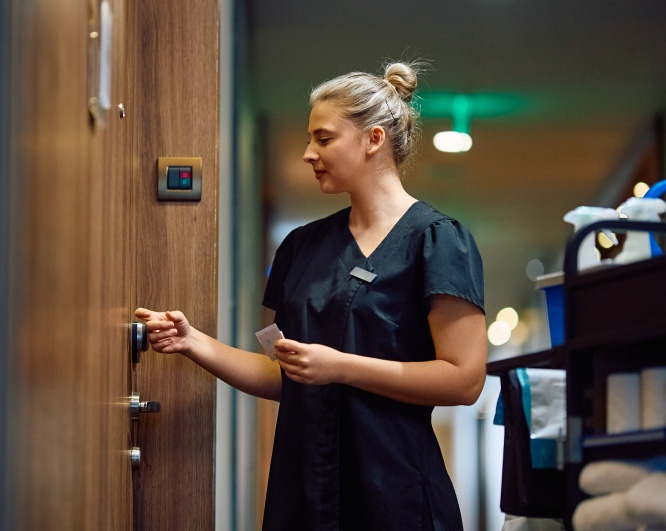
Hospitality
Use mobile credentials or cards for keyless guest and staff access - simple, modern, and secure.
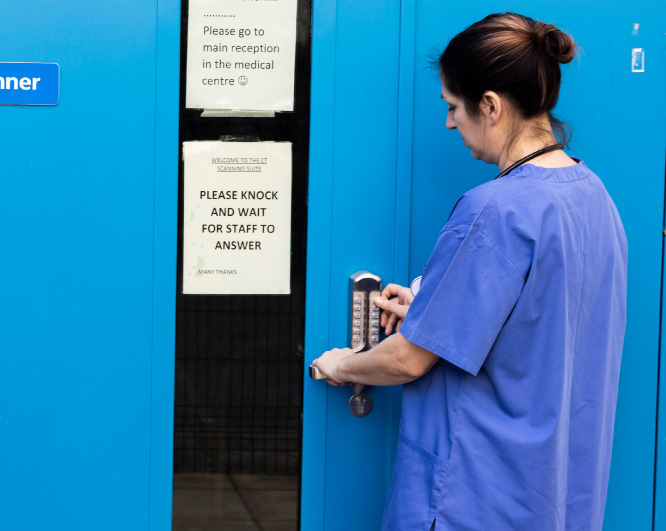
Healthcare
Protect staff and sensitive areas with coded entry. Great for consulting rooms, clinics, and temporary zones.
Schools
Tap a card or fob to enter - secure, fast, and perfect for classrooms, offices, and staff-only zones.
Office Buildings
Control who goes where with smart fobs or cards. Manage staff and visitor access with ease.
Hospitality
Use mobile credentials or cards for keyless guest and staff access - simple, modern, and secure.
Healthcare
Protect staff and sensitive areas with coded entry. Great for consulting rooms, clinics, and temporary zones.